One of my favorite features of this download is the option to print all of the figures in two size options (wall size or notebook size) as well as the option to print them with or without text descriptions. I love the flexibility of this resource. There are so many ways to utilize timeline figures. There is a section in my download version titled Timeline Helps. I found this section extremely helpful. It lists numerous ways with descriptions of how you can use your timeline figures: wall timeline, portable timeline (sketchbook, card file), notebook timeline, etc. There are pros and cons to each timeline system.
Timeline use suggestions with pictures
You might want to think about your children's different learning styles when selecting your system. Amy has a great blog post on teaching different learning styles here.
The Timeline Helps section also shows you how you can use these figures for games and lapbooks (both of which I am a huge fan of). They can be used for more than just your history timeline! It gives helpful tips on what mediums to use when coloring the figures, what adhesives work well for removable and more permanent options, and what paper choices you might want to consider (index cards, copy paper, card stock, etc.). I really appreciate that the figures are organized in over 30 helpful categories: chronological, alphabetical, etc. that help make topical studies extremely easy.
Supplies, we also used rubber cement to adhere figures to cards
A sheet of printed figures
Adhering figures to index cards
Organizing our first file box
We chose to utilize the chronological card file system with file boxes. This system allows us to remove our timeline figures when we want and is also great for small spaces. We can write notes on the back of the cards. I really like this because as the kids discover additional information about the topic, or extra resources, books, videos, etc. we can make a note on the card to have for future reference. The cards can be placed in different orders or different groups as we study history throughout the years. For example, we could order the cards into scientists, presidents, explorers, New Testament, disasters, The American Civil War, etc. I hope you get the idea. I do want to note that the main drawback to this particular option is that the timeline is not always visible for children to see daily.
We will be studying 20th Century World History next year so we printed all the timeline figures and cards that will pair up with our upcoming history and sorted them into our box. We also chose to print figures with the text because we wanted an encapsulated summary included on the cards. We will be using this throughout the year and I'm excited to see all the ideas the kids have for incorporating our figures into our school days.
I love that this collection gives you a hands-on approach to history and helps history come alive for students using them. This collection is amazing and you have so many options and ways to utilize it in your homeschool. I highly recommend it!
Want to know more about teaching with timelines? Check out Amy Pak's blog post here on just that. Also, click on the video below from Amy explaining the importance of timeline figures in teaching history.
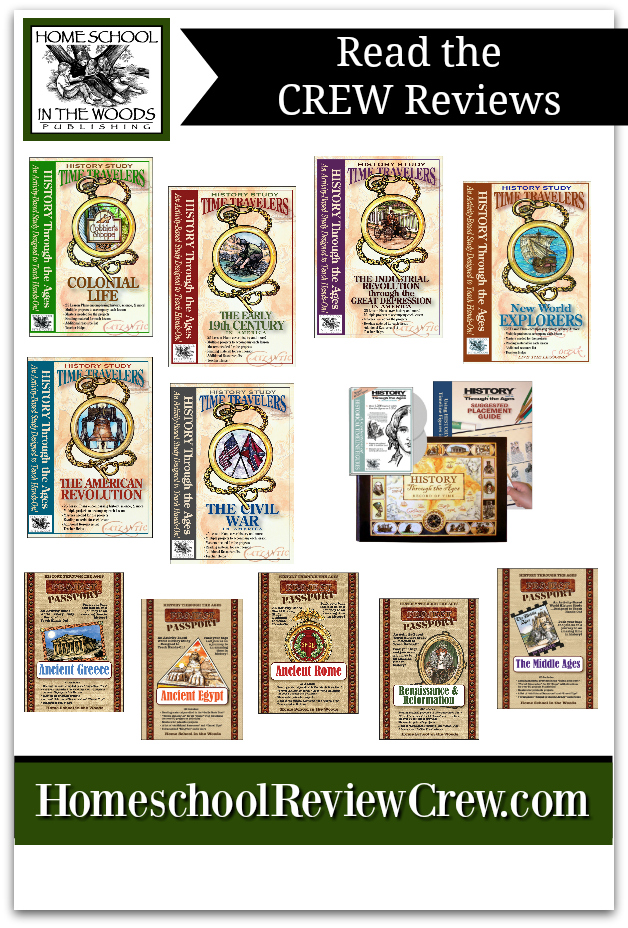
Be sure to click on the banner below to visit the Homeschool Review Crew blog to read more reviews of Home School in the Woods and check out some of their other products including Time Travelers U.S. History Studies and Project Passport World History Studies.

You can engage with Home School in the Woods on social media @:


No comments:
Post a Comment