Our family loves creating new things so when we were given the opportunity to try out Sculpture Technique, Construct from Artistic Pursuits Inc. we were on board right away! You may remember our review last year of ARTistic Pursuits Volume 1 {spoiler = we enjoyed it}.

Our spiral bound book
This program is all about making things with your hands! This book is geared toward upper elementary to high school students,
ages 11-18. It helps teach the concepts of construction methods in
papermaking, papier-mâché, cardboard and wire. Students are asked to
select and create projects that are relevant and interesting to them, which makes it very enjoyable!


Materials List/Art Supplies for each unit
Our book is divided into 4 main units: creating form in papermaking, creating planes in cardboard, creating motion with papier-mâché, and creating volume with wire. There is a supply list near the beginning of the book that lets you know what materials you will need for each unit. At the end of each unit, there is an evaluation for the student to reflect on all they've accomplished. This is such a great addition.

Creating a sculpture from homemade paper.
Paper Making! One of the first things we did with this program was to make our own paper. This was so fun. David made paper as a kid but no one else in our family had any experience making paper before this book. We started off with strips of newspaper and various scraps of construction paper that all basically made various shades of greys. We made a few other colors as well for fun - rose, yellow, green, etc. One of the most important items you will need for making your own paper is a papermaking dip handmold kit. You will definitely want this! It makes the process a million times easier.


To make our own paper we first had to prepare the paper pulp. This is done by soaking your paper scraps in water and then blending them using a blender.

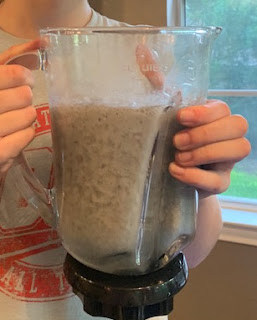



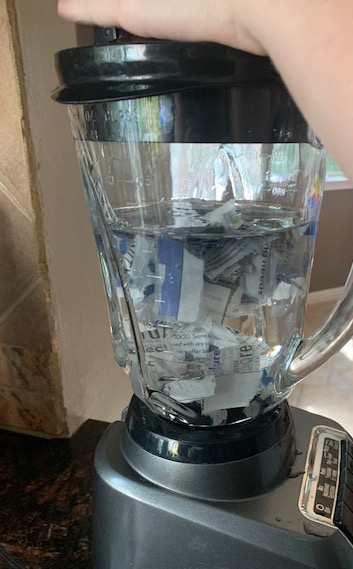
Above you can see our newspaper scraps and water.

After first round of blending. We had to blend it even more than this.
After your pulp is made, you will pour it into your dishpan. The
thickness of your paper will be determined by the ratio of your pulp to
water in your dishpan. The more pulp, the thicker the sheets will be.

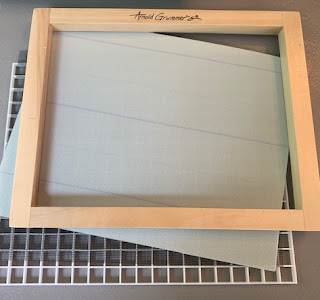
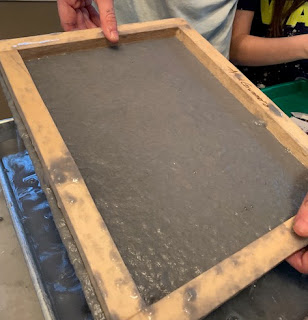
Our handmold dip kit
Using your handmold dip kit, you can now pull a sheet of paper out of your dishpan.

Pulling out a sheet of paper

You can see all the pulp! Tilt your frame to help get excess water off your paper.
After removing the deck frame and adding the cover screen over the paper
pulp, you will use a sponge to absorb water out of the paper.

After removing the deck

After adding the cover screen we used a sponge to help get excess water out of our paper.
We ended up using towels and an iron to help our paper dry faster.

Slowly ironing our paper. Make sure to follow directions carefully if you choose to do this step.

A finished sheet of paper!

The various colors of paper we created.

Paper Sculpture Directions
Once we made our paper, we created an elephant. First, we drew our image on white copy paper. Then, we cut out the pieces. We traced our pieces onto various shades of grey paper that we made and cut them out. We added tabs onto the pieces so that we could glue them down with a slight 3D effect.

Our elephant

Our elephant pieces

Assembling our elephant

Our finished elephant project. We glued it onto a piece of yellow paper that we made as well.

Next, we wanted to create a sculpture with wire! It is recommended to start with a fish because the simple form allows you to learn how to handle the wire and create connections.

I purchased 16 gauge aluminum wire for this project. We had everything else on hand.

Directions for creating a wire fish sculpture.

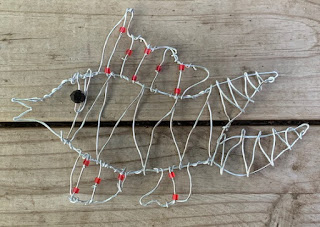
 Then she embellished her fish with beads and extra wire.
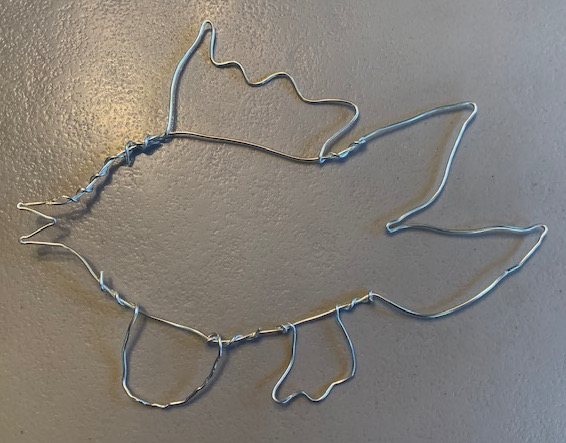
A made her fish outline out of wire first.


A's finished fish wire sculpture!
I really like that in this program students learn the processes involved in using a
variety of materials! They truly become a creator and sculptor by implementing the
methods described in this book. There are still so many projects for us to complete with our book. I am really looking forward to the section on creating 3-D forms using corrugated board and cardboard. We have all the supplies to do this next. If you are looking for a hands-on art program that focuses on construction and sculpting, we would highly recommend this one. It doesn't disappoint. I also want to note that this can be a credit Sculpture course for high school depending on the amount of time spent on this course and your state requirements. I am planning on using this as a credit for A!
I also want to share with you that Brenda from Artistic Pursuits Inc. has been working hard to create FREE online video lessons for beginning drawing students. I hope you will check them out. There are also new online courses for their K-3 Level Books that you can check out here as well.

I love this owl drawing that E created independently using one of the free online video lessons mentioned above. Isn't she cute?

You can engage with Artistic Pursuits Inc. on social media @: