Dozen Cousin Minions
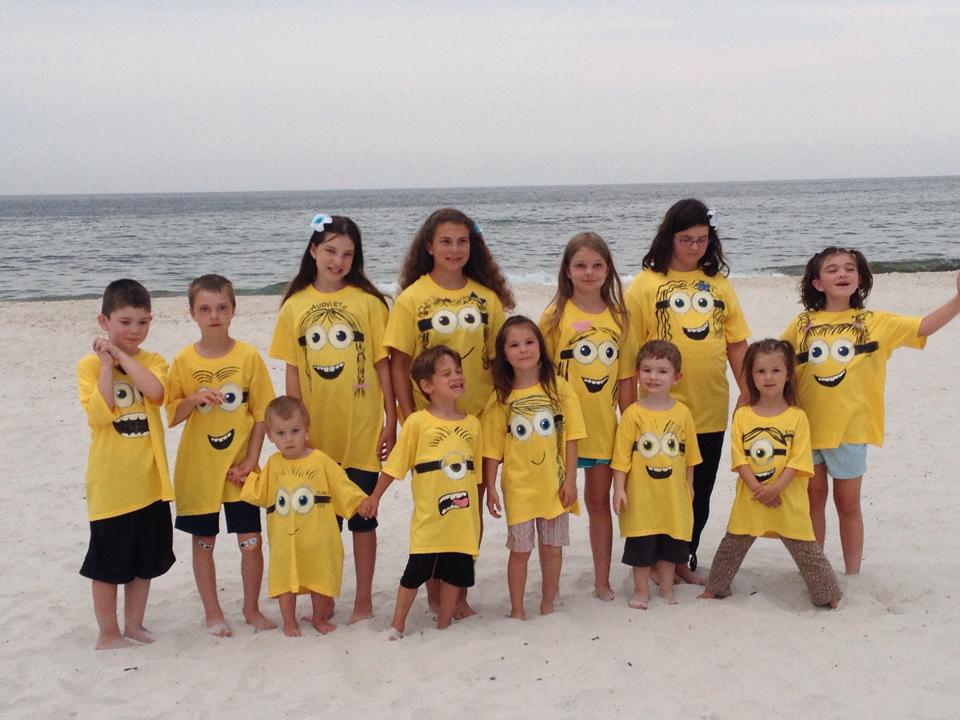
We just returned from Gulf Shores, Alabama. We had a fabulous time. My kids look forward to their cousin trip every year! This year our theme was Minions. I brought the supplies for all 12 cousins (yes, a dozen) to each make a Minion shirt. My fabulous sister-in-law is an art teacher and photographer so she was able to come up with easy ways for the kids to create their shirts, and then she took some fabulous photos of the minions together! I thought I would share with you what we did so you can make your own awesome Minion shirts!
1. Gather the supplies needed for the shirts. I purchased everything at Michaels except for the XS yellow shirts which I purchased at Hobby Lobby. The smallest size Michaels had was a small.
You will need a plain yellow shirt, fabric paint (I purchased white, black, blue and metallic silver), paint brushes, t-shirt board (or cardboard would work) and paper plates, paper cups and paper towels as needed. To make the eyes we used a few paper cups, a small circular toy and the cap of a water bottle to get the circle sizes we needed. My sister-in-law ended up getting some red paint at the store so that we had more color options for the eyes and the some of the girls wanted pink embellishments.
Yellow Shirts
Fabric paint, paint brushes, t-shirt board and Minion goggles for fun photos
Here you can see the blue paint as well.
2. Set up your shirt on the t-shirt board or cardboard and begin making your shirt. We used a paper cup to dip into the white paint to obtain a perfect circle for the outside of our eyes. Then we filled in the eyes using a paint brush. For the kids, we made the initial circles and they filled the paint in themselves (except for F).
Begin with the eyes
Outside of the eyes
Filling in the eyes
E filling in her eyes
D filling in her Minion eyes.
3. While the white eyes dry, begin making your mouth. For some of the shirts the kids made the hair at this point and some of them, they made the hair last.
making Minion mouth
making Minion hair
A making an open Minion mouth.
4. Make the side goggle straps and fill them in. For the kids we made the outline of the straps and they filled them in themselves.
Filling in the goggle straps.
Filled in straps
5. Decide what eye color you want your Minion to have and make the next inside layer of the eyes. We had a small, circular toy that was the perfect size for this. We dipped the toy in the paint and applied it to the center of the white eyes. We then used a paint brush to fill it in.
Blue eyes that need to be filled in
Filling in the eye color
6. Make the outside of the goggles around the eyes. We used the same technique that we used to make the outside of the white eyes. We dipped a cup into the silver paint to obtain a perfect silver circle around the outside of the white eyes. Then we used a paint brush to make the goggles thicker.
making the silver goggles, you can also see here how the eyes are filled in
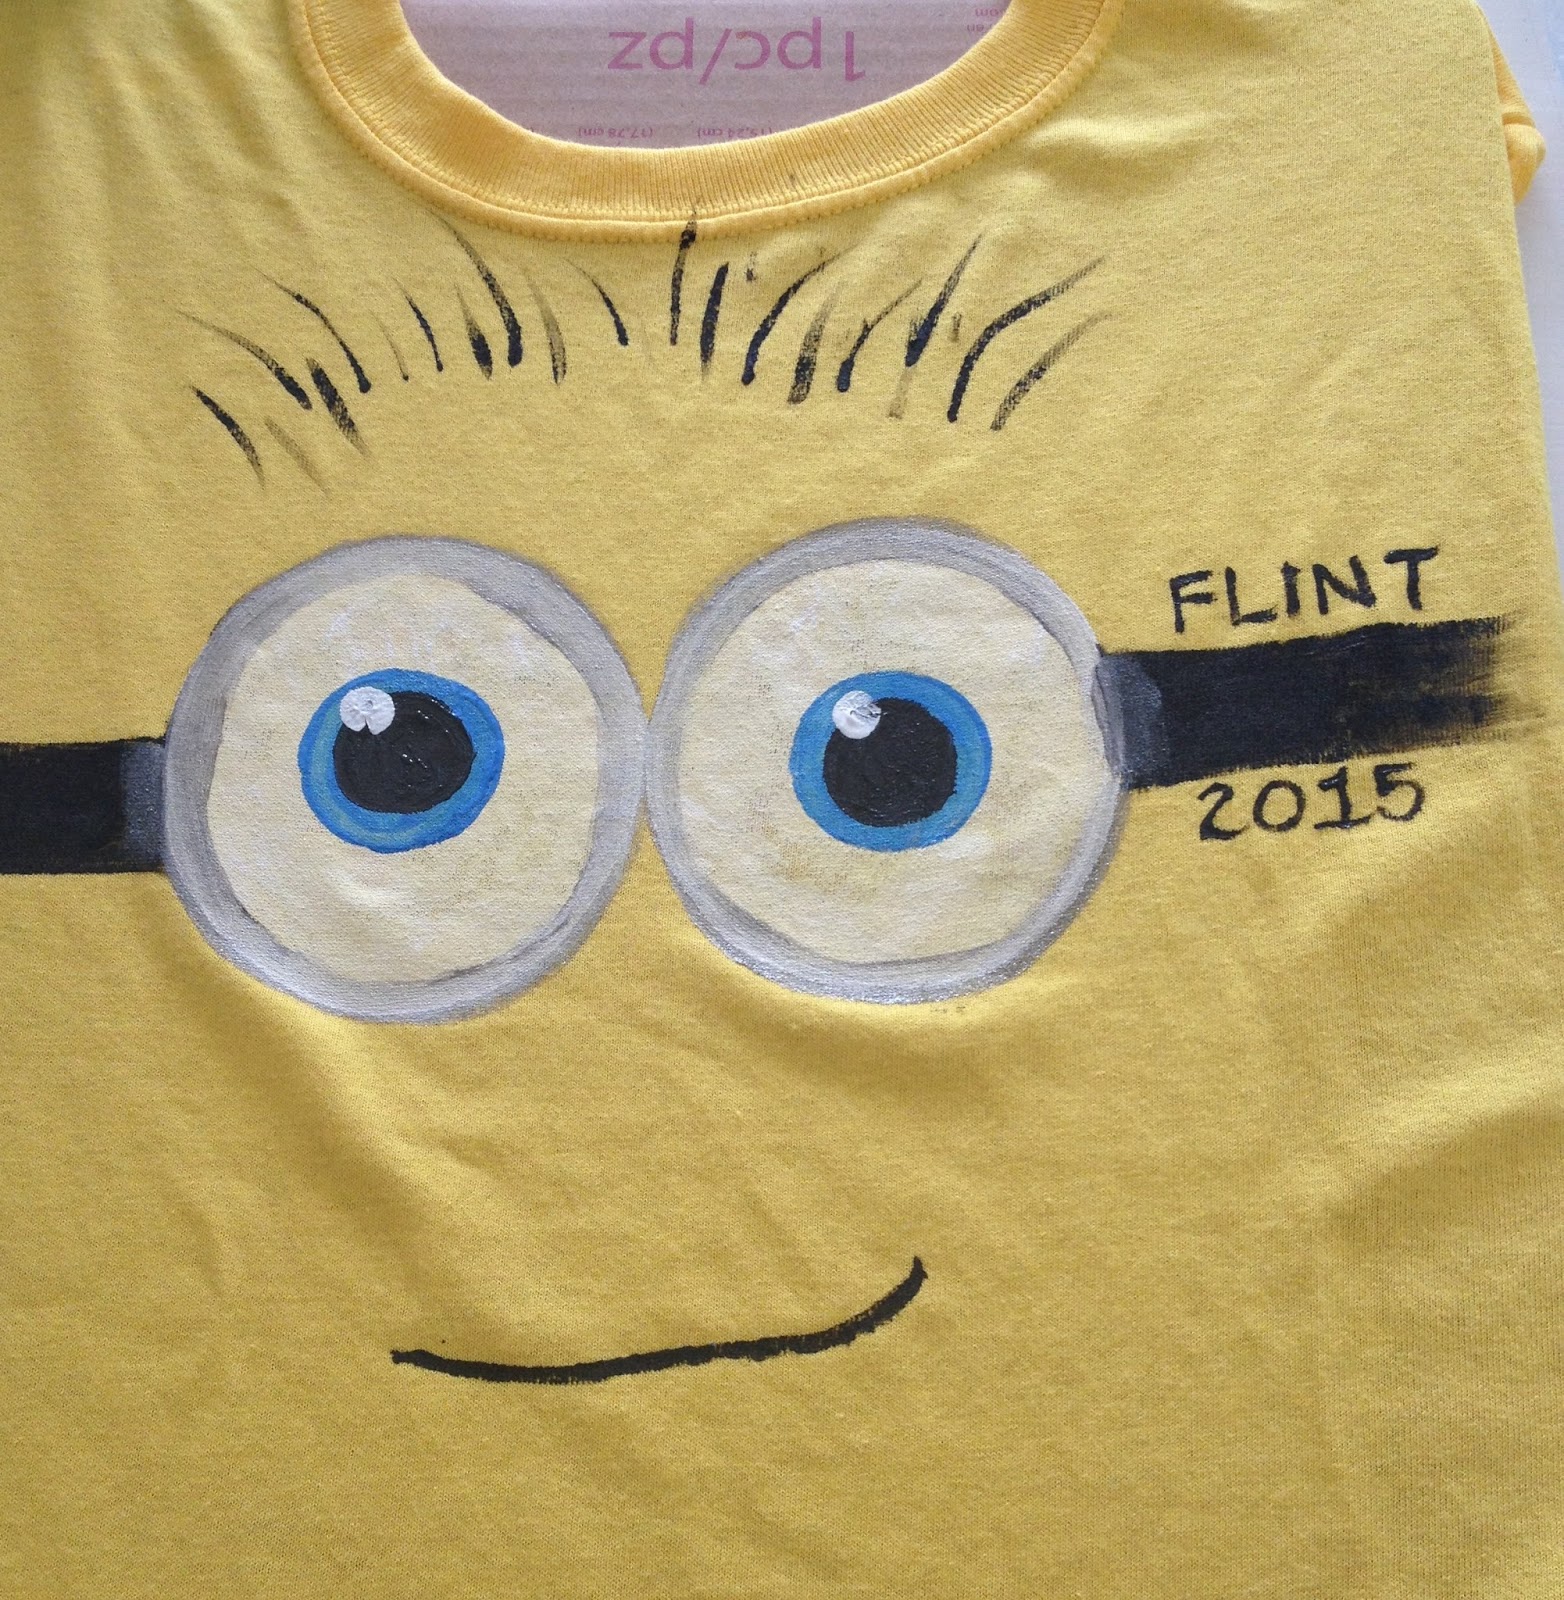
7. Next we dipped out water bottle cap in the black paint to create the pupil. Fill it in using a paint brush as needed. It is important to remember when layering, especially the eyes, you need to let the bottom layer dry before adding the next layer. We added a small dab of white to the top left pupils using our pinky finger. My sister-in-law also wrote the kids names and year on the shirts for even more personalization.
Making the pupils
F's shirt is finished!
More photos of shirts that were made on our trip!
D wanted blue Elsa hair, love it!
Check out my nephew's awesome mouth with a tongue!
A added bows.
There were 12 different Minion shirts that were made by the kiddos. The
younger ones had more help than the older ones but I love that they
each had a part in their shirts. They had fun choosing different mouths
and different hairstyles. My sister-in-law was awesome with mouths and
hairstyles! We didn't always go in this exact order as you can see by
the photos. Sometimes the goggles were added after the mouths, etc. but
you get the idea. Hope you have fun making your own shirts! I would
love to see them.